Modifying your MAP guideline – Event Time
In the first example, we created a calculator where the user can manually enter diastolic and systolic blood pressure values, and the clinical decision support system calculates the mean arterial pressure using this values. While these calculators are useful, a clinical decision support system should be able to communicate with an EHR system. An EHR system usually contains many health data about a patient, it is common that a patient has several blood pressure measurements registered in the EHR (e.g. the physician takes blood pressure measurements at each visit). For the clinical decision support system, old measurements are not important, only the most recent measurement is essential. To tell the GDL editor that it should look for the most recent measurements one more step should be included.
1. Open the previously created MAP guideline if it is not already open.
- Run the GDL Editor (if not already open). If you are unsure how to run the GDL Editor refer to Chapter 1.
- Import openEHR-EHR-OBSERVATION.blood_pressure.v1.adl blood pressure archetype (if not already imported).
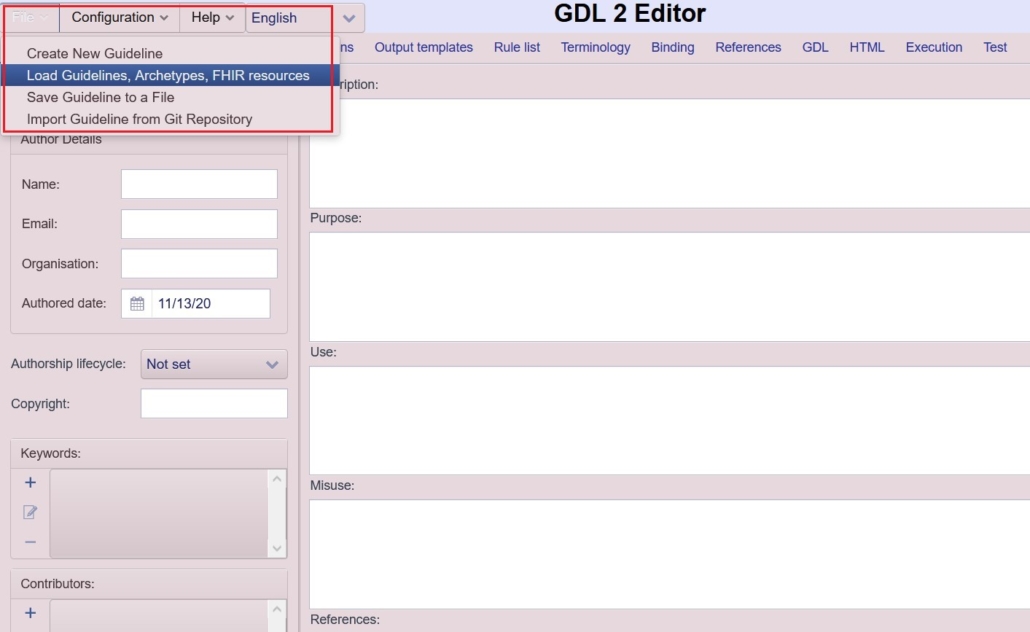
- You can start to import an archetype by clicking File -> Load Guidelines, Archetypes, FHIR resources in the top menu.
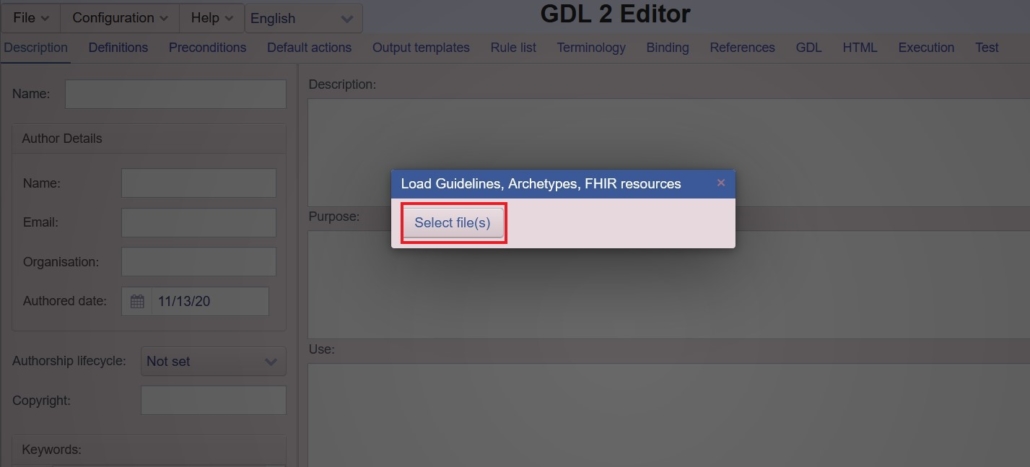
- When asked to choose new archetype to import, click on Upload file.
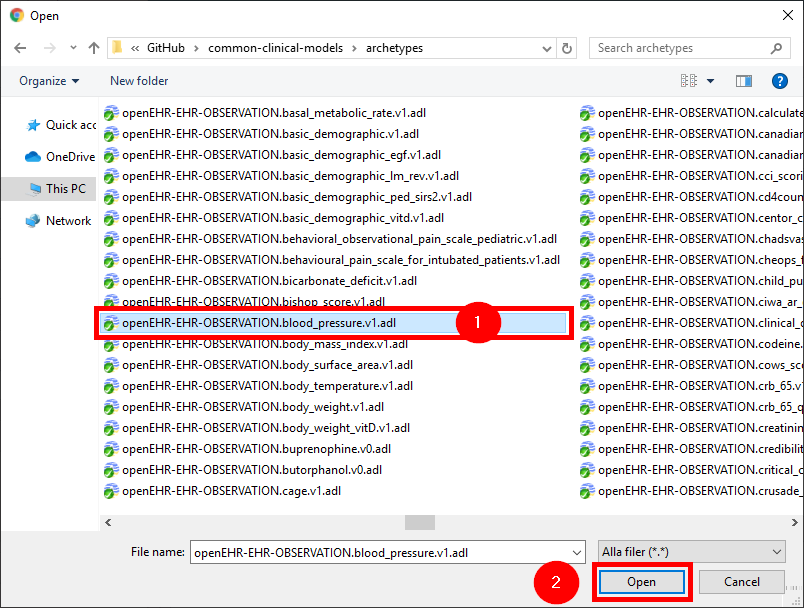
- Select the openEHR-EHR-OBSERVATION.blood_pressure.v1.adl from the folder you have download it to.
- You can start to import an archetype by clicking File -> Load Guidelines, Archetypes, FHIR resources in the top menu.
- If not already open load the MAP_test.v0.gdl.json guideline
- Select the File -> Load Guidelines, Archetypes, FHIR resources from file menu item.
- This will show a dialog box asking for your confirmation. If you have all your previous work saved click on the Upload file button. If you forgot to save anything click on the cross sign to cancel the upload. You can continue to create your new guideline by repeating the previous step after saving your work.
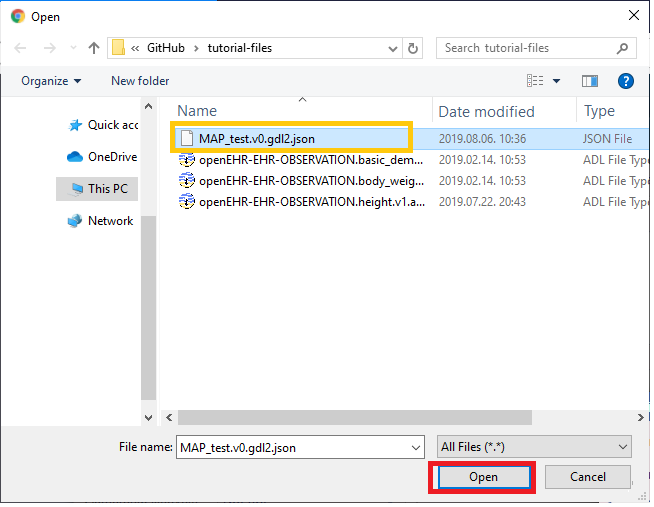
- If you confirmed that you wish to open an existing guideline, the Editor will show a file selection window. To choose the file to upload navigate to the directory where it is saved (if needed, presumably it is already there) and choose the file by clicking on it. Select the previously saved MAP_test.v0.gdl2.json file.
- You can directly download the file from here.
- Select the File -> Load Guidelines, Archetypes, FHIR resources from file menu item.
2. Open the Defintions tab
Click on the Definitions label in the second row of the editor.
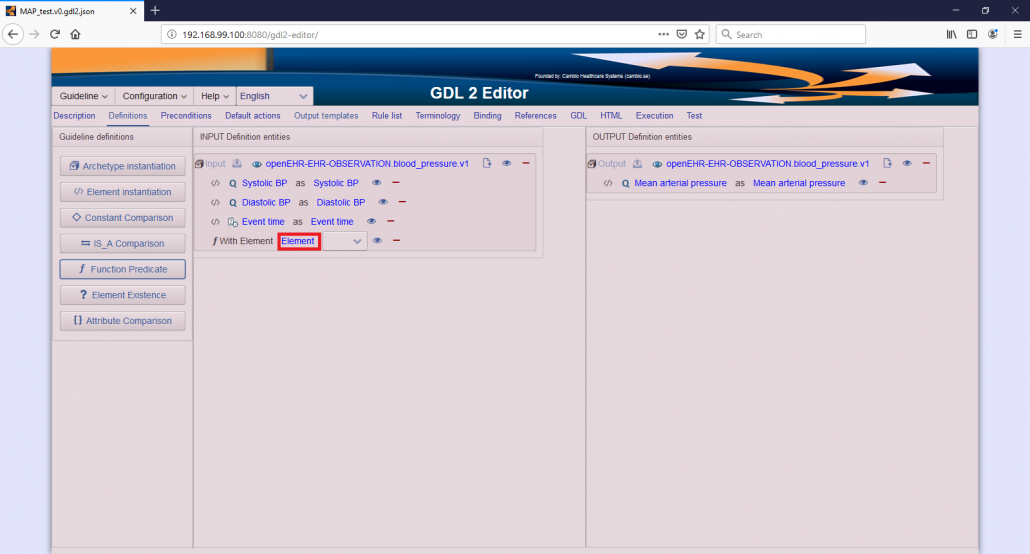
3. Instantiate Event time as a new element inside the input archetype.
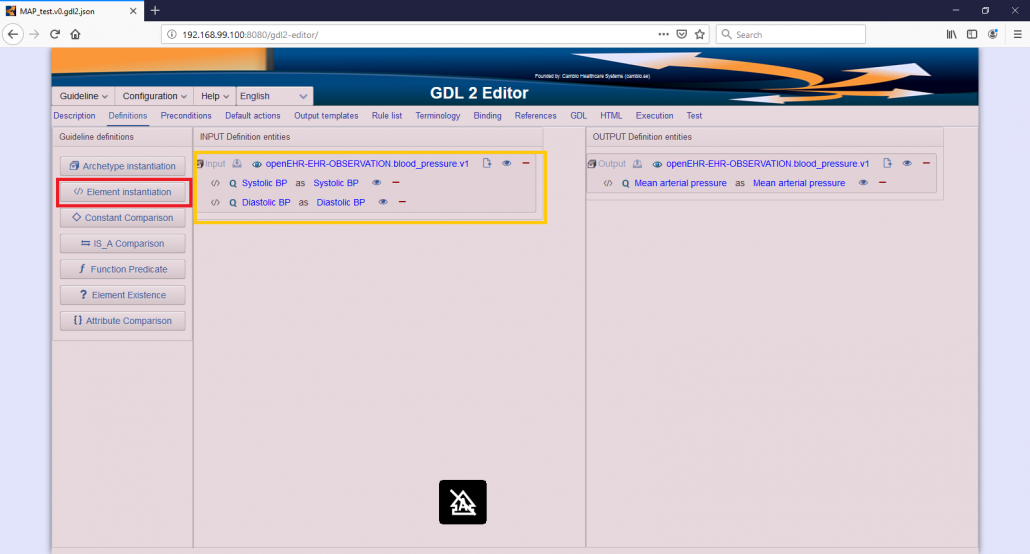
- Drag the Element instantiation button into the already instantiated blood pressure archetype inside the inputs. Before you drop it the archetype should look selected. If the drag was successful you will see something similar to the screenshot.
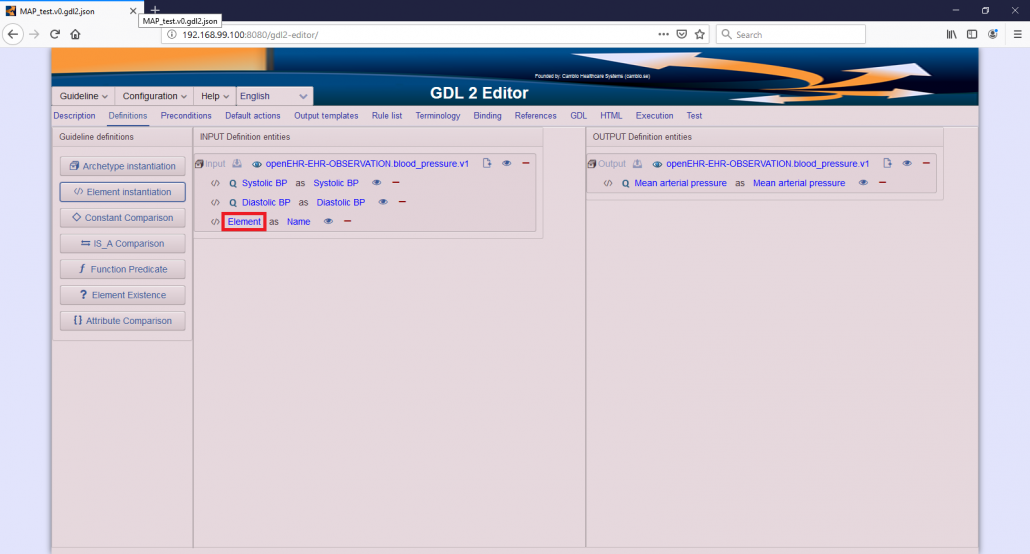
- Click on the Element label on the newly dragged item.
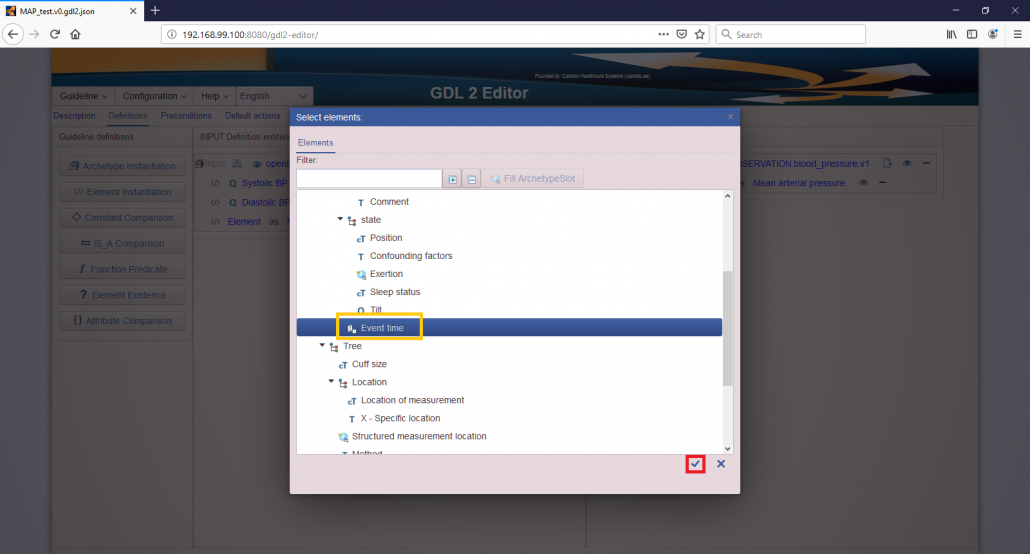
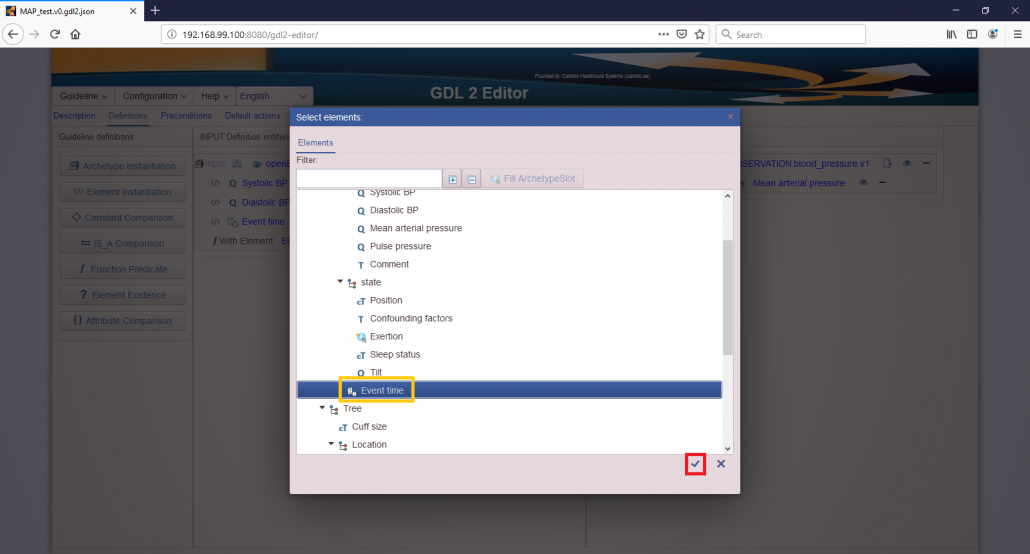
- A select elements box appears where you can see the elements inside the imported archetypes. You should select Event time as shown in the screenshot.
- Click the check mark to accept your selection.
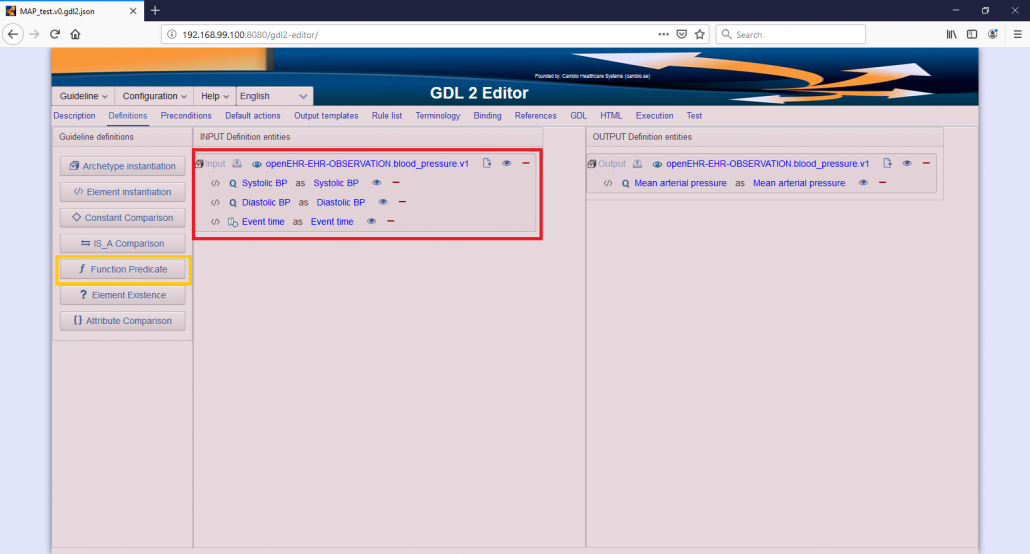
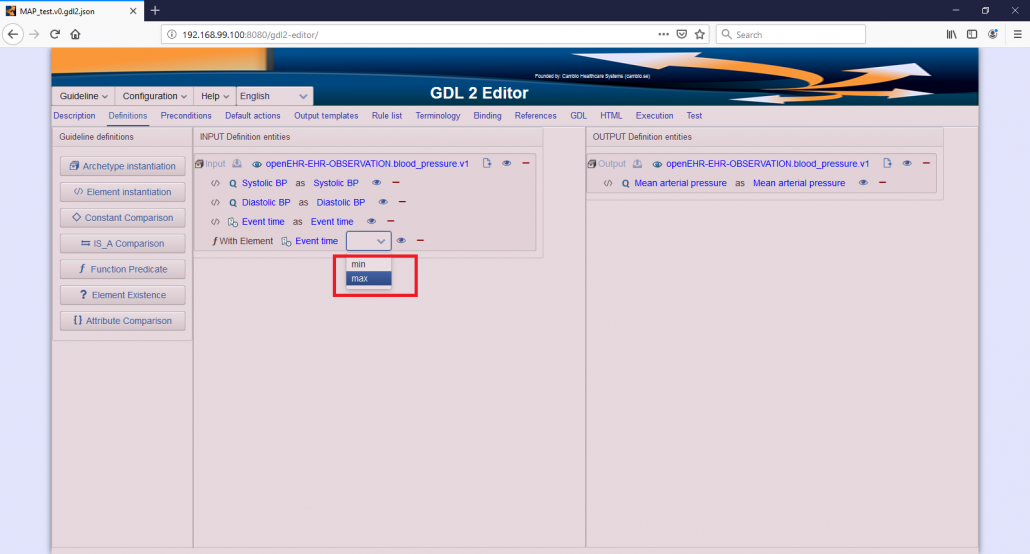
4. Create a function predicate with Event time being max.
- Drag the Function Predicate button to the input blood pressure archetype.
- Click on Element label in the new row.
- A select elements box appears where you can see the elements inside the imported archetypes. You should select Event time as shown in the screenshot.
- Choose max from the drop down list in the row.
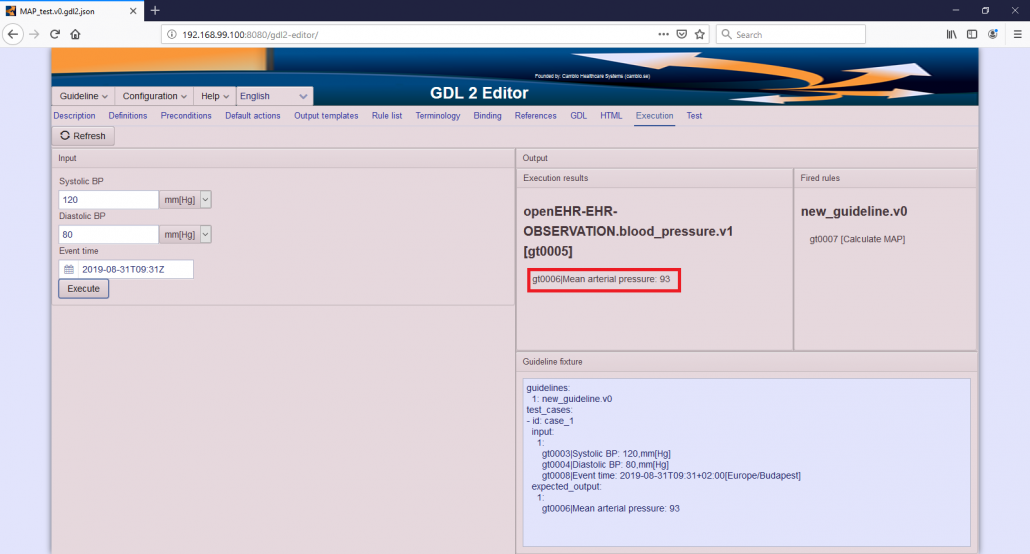
5. Switch to the Execution tab, click refresh and check your guideline whether it works as required.
- Open the Execution tab by clicking the Execution label in the second row of the Editor.
- Click on the Refresh button.
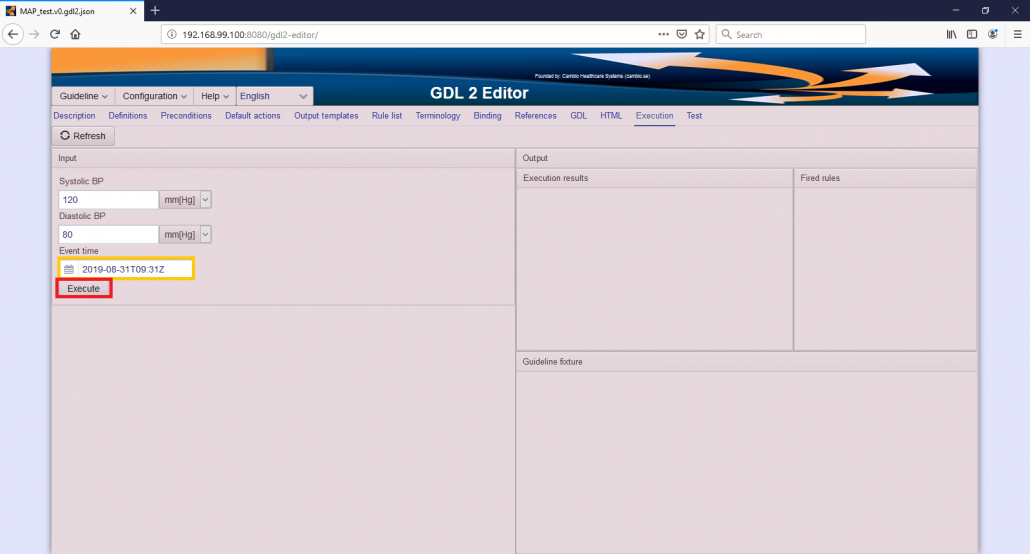
- Enter meaningful values into Systolic and Diastolic BP fields, then click on the calendar icon inside the Event Time field.
- This will open a Date and Time selector. Select an arbitrary date and time as Event time, by first adjusting the time then clicking on the required date.
- This will show the time in the right format in the Event time field.
- Click on the Execute button.
- This will show the result of the calculation in the Execution result.


6. Save your changes to a new file. We recommend changing the version number to v1.
- Click on Guideline > Save guideline menu item.
- The Saving Guideline to a File appears on the screen. You can name your file here. We recommend to use “MAP_calculator.v1” (v1 indicating version 0) as file name.
- Click on the check mark to accept your changes.
- Save the file to your local file system by clicking Save in the next dialog. We recommend not to change the file name here. Depending on your browser settings you might have to do slightly different steps here.