GDL2 Guideline Tutorial IV – BSA
After you have created your first calculator and learning how to adapt your calculator to be used in an EHR, it is time to create your first guideline from scratch. Here we create a guideline to calculate Body Surface Area (BSA). The structure of the BSA calculator is very similar to the MAP calculator except that it uses three archetypes (two input and one output). Since in the following example we are using standardized archetypes available in this folder, we recommend to compress the folder’s content into a zip file and use this file going forward.
After creating the zip file and starting the GDL2 Editor (if not already running) you can start creating your first guideline from scratch using the following steps.
0. Start the GDL2 Editor (if not yet running) or click File > Create New Guideline (if the Editor is already running).
- If the Editor is not already running, start the GDL2 Editor using either docker or Java as described in the GDL2 editor primer tutorial.
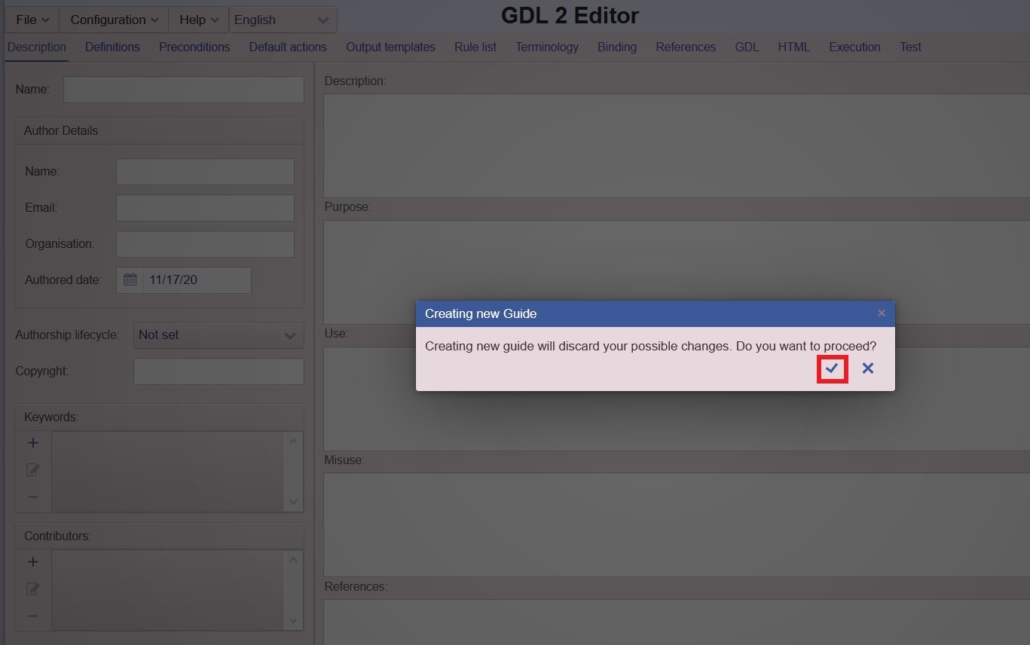
- If your Editor is already running click on the File > Create New Guideline menu item (see screenshot).
- This will show a dialog box asking for your confirmation. If you have all your previous work saved click on the Upload file button. If you forgot to save anything click on the cross sign to cancel the upload. You can continue to create your new guideline by repeating the previous step after saving your work.

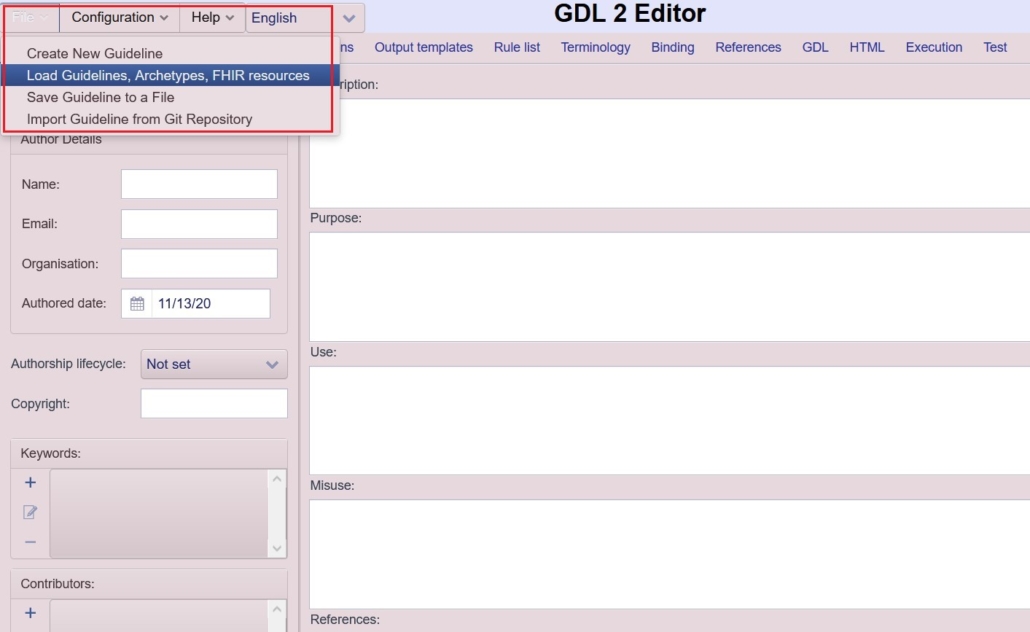
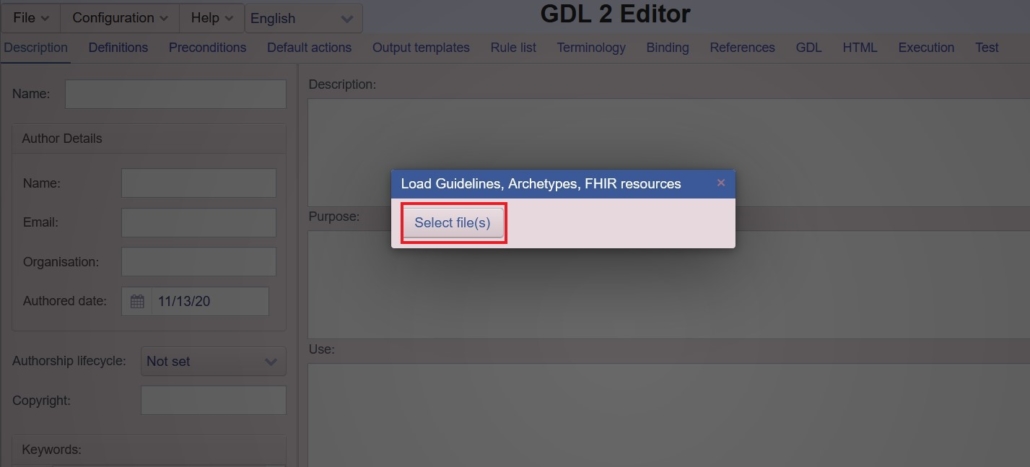
1. Import the zip file using the File > Load Guidelines, Archetypes, FHIR resources menu item.
- Click on the File > Load Guidelines, Archetypes, FHIR resources menu item (see screenshot).
- Click on the Select file(s) button in the dialog box.
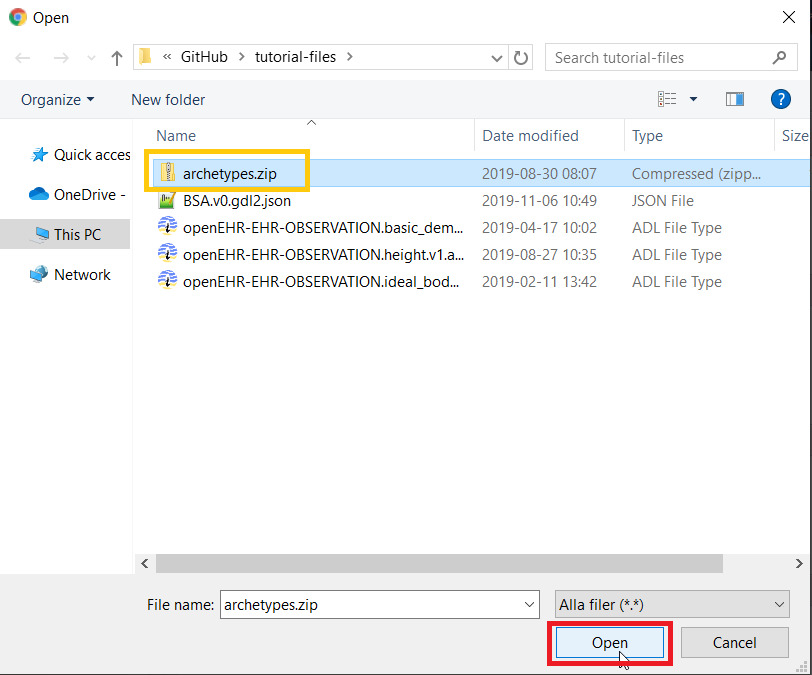
- Choose the zip file you have created and click on the Open button in your OS language.
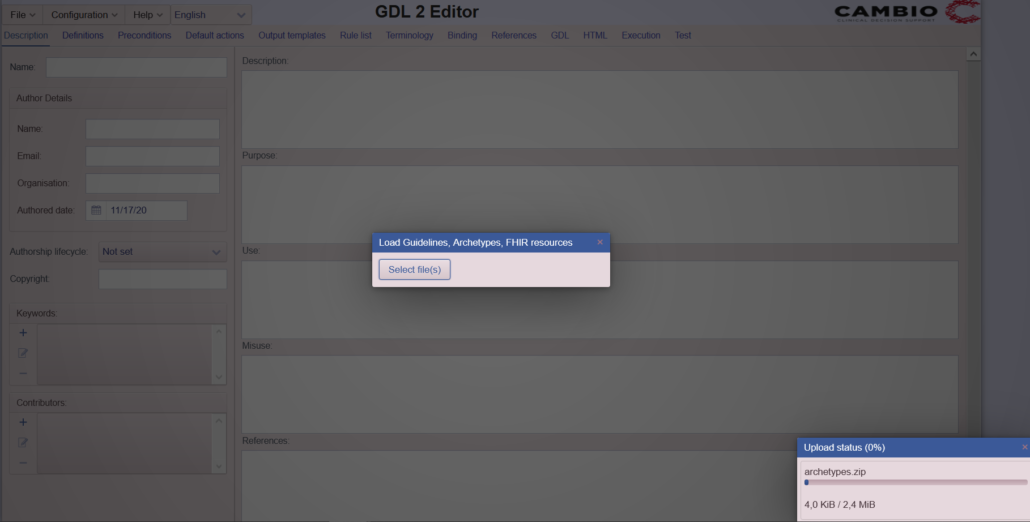
- This will load all the archetypes inside the zip file. While the archetypes are loading you will see the following screen. When this screen disappears you can continue to use the Editor.
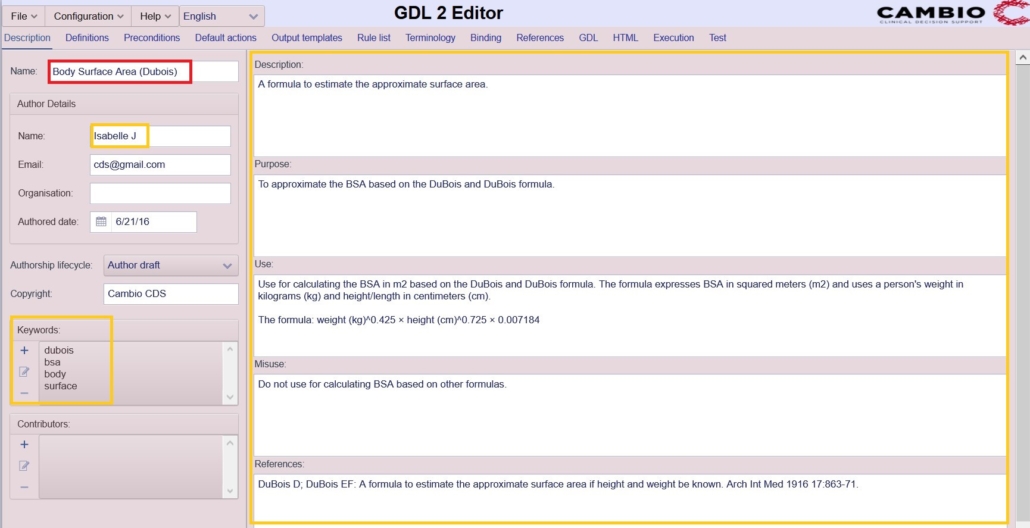
2. Fill the Description tab by naming your guideline Body Surface Area and optionally filling the other fields in the Description tab.
On the Description tab in the editor, you can write some description about your project. It is recommended that you fill in most of the fields on this page (a possible fill can be seen here). While you are learning, you can leave out most of the fields except the name field, which is obligatory to fill in. We recommend giving a name that makes sense. Here we use Body Surface Area as this project is meant to calculate Body Surface Area.
3. Instantiate openEHR-EHR-OBSERVATION.height archetype as input with a Height/Length element and Event time being max.
- Start the instantiation by dragging the archetype instantiation button to the INPUT entities field.
- To choose what file to instantiate click on the Data binding label.
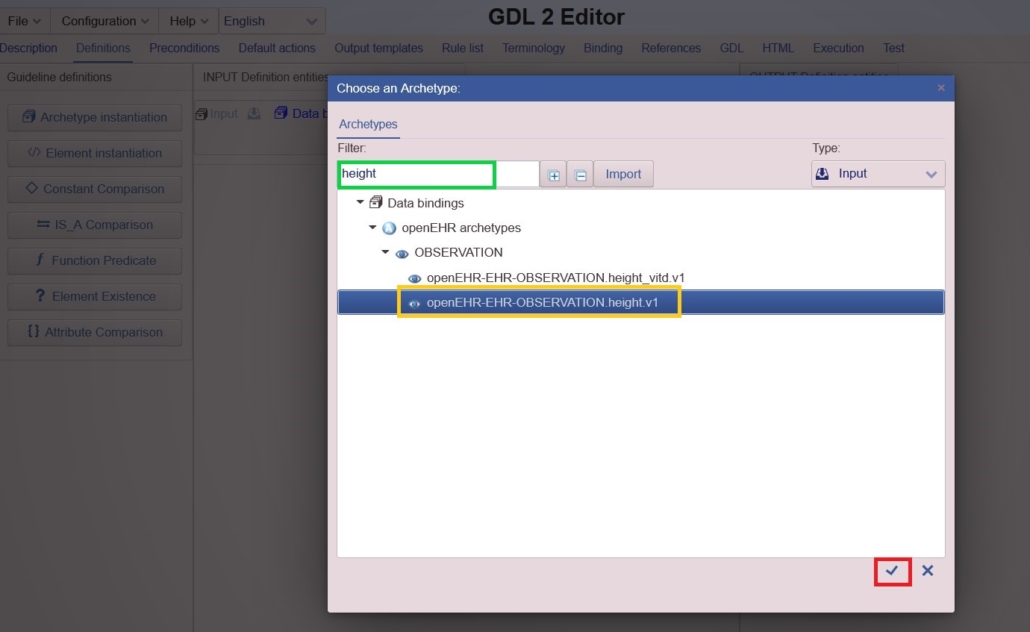
- To choose which archetype to instantiate, look for openEHR-EHR-OBSERVATION.height.v1 archetype. Since you will see many archetypes in the dialog box, it is worth to filter them by name. Type height in the Filter field and you will see only the relevant archetypes. Click on the openEHR-EHR-OBSERVATION.height.v1 archetype and then click on the checkmark
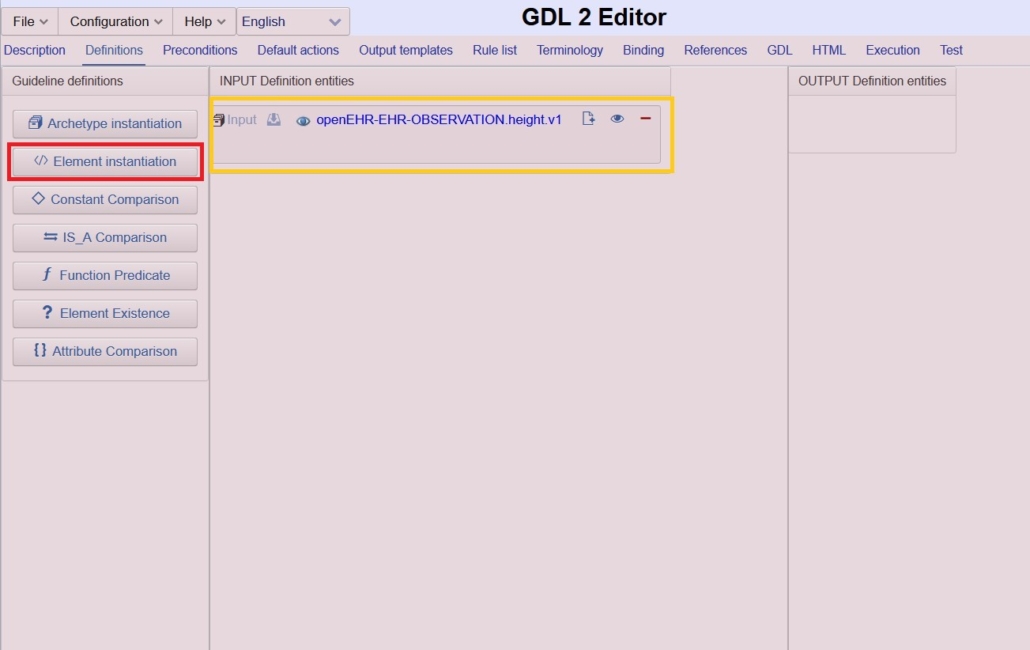
- To start to instantiate Height/Length as input data, drag the Element instantiation button to the newly instantiated archetype.
- Click on the Element label in the new row in the archetype.
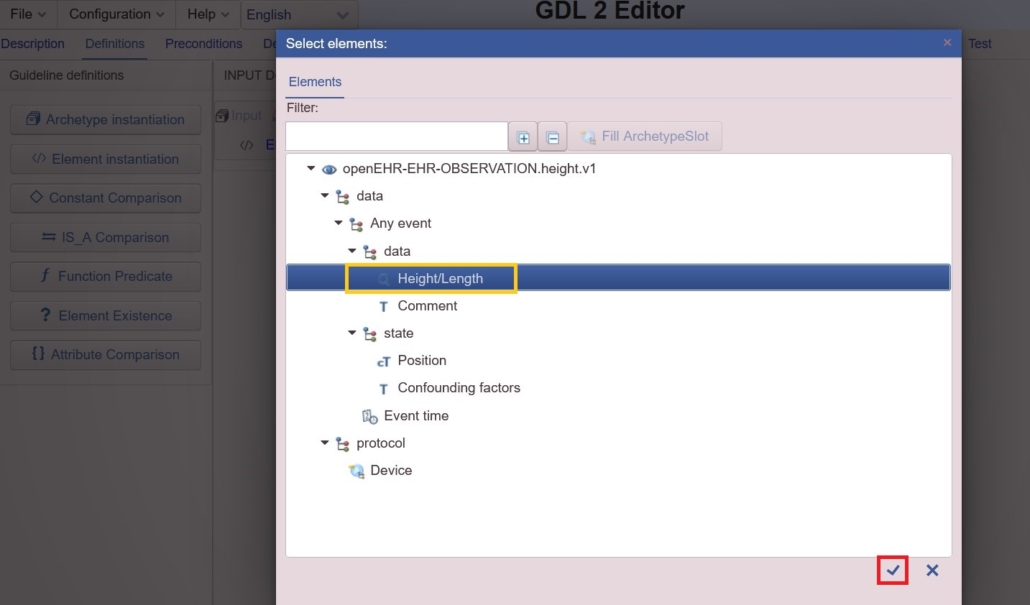
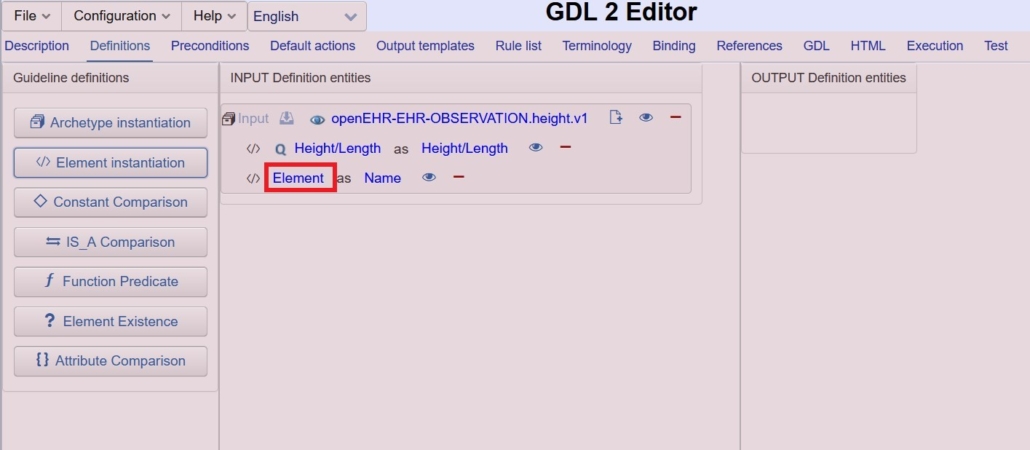
- It will open a dialog box. In the element selection dialog box, select Height/Length element and then click on the checkmark.
- To start to instantiate Event time, drag the Element instantiation button to the newly instantiated archetype.
- Click on the Element label in the new row in the archetype.
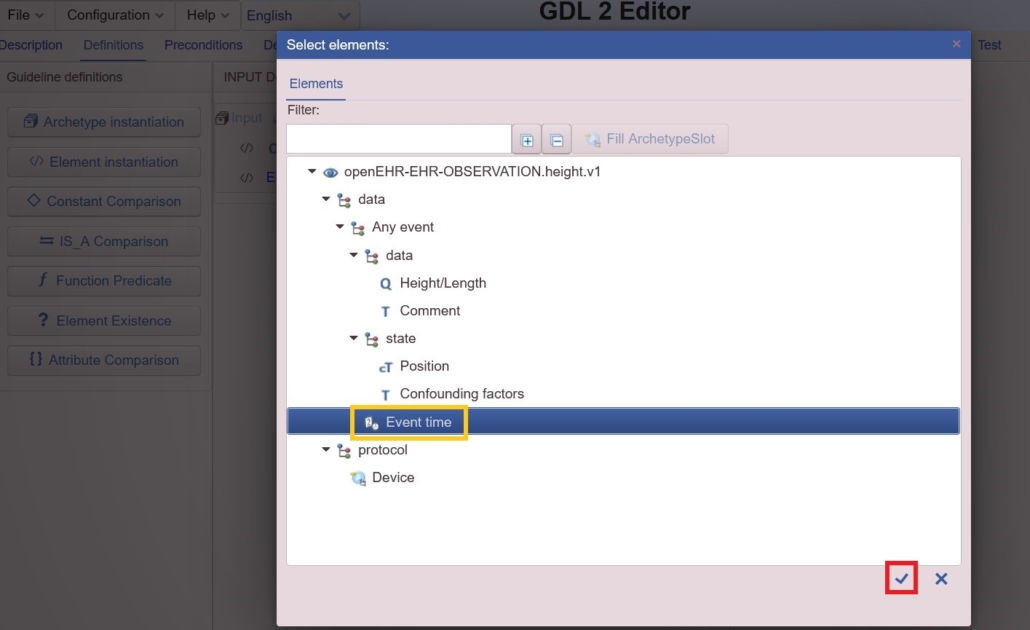
- It will open the same dialog box as earlier. In the element selection dialog box, select Event time, and then click on the checkmark.
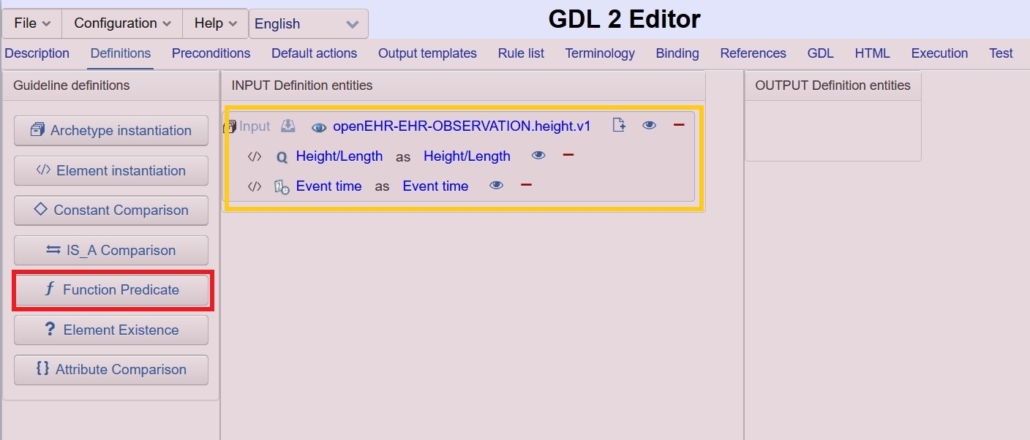
- Drag the function predicate button to the newly instantiated archetype.
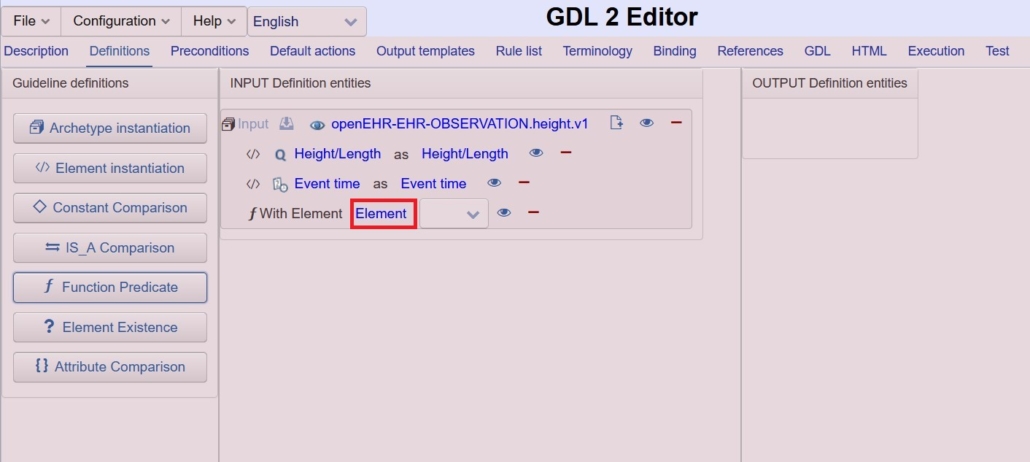
- Click on the Element label in the row starting with “f with Element”.
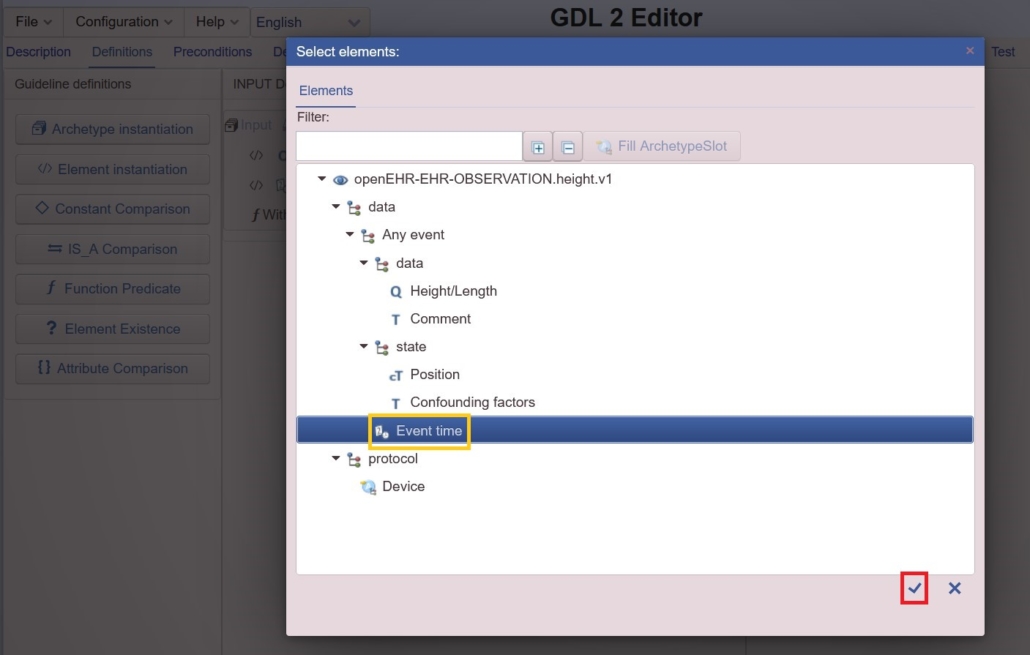
- This will show you an Element selection dialog box. In the element selection dialog box, select Event time, and then click on the checkmark.
- Select max in the drop-down list to tell the Editor that the calculation needs the latest measurements (i.e. with the maximal Event time).

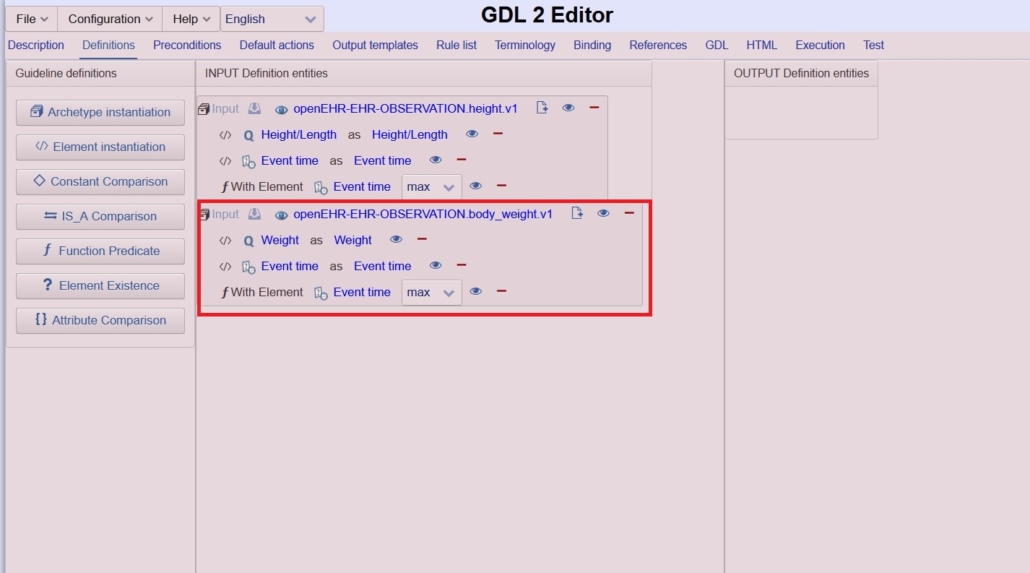
4. Instantiate openEHR-EHR-OBSERVATION.body_weight archetype as input with a Weight element and Event time being max.
- Repeat the steps inside step 3 replacing openEHR-EHR-OBSERVATION.height with openEHR-EHR-OBSERVATION.body_weight and Height/Length with Weight.
- After finishing all the steps. You should see the following screen.
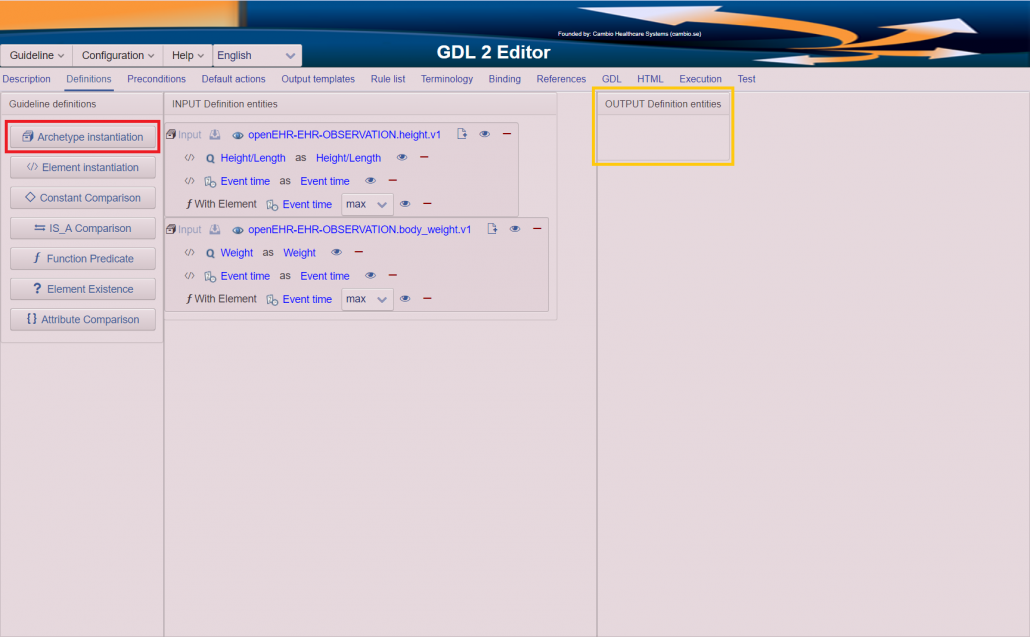
5. Instantiate openEHR-EHR-OBSERVATION.body_surface_area archetype as output with a Body Surface Area output.
- Start the instantiation by dragging the archetype instantiation button to the OUPUT entities field.
- To choose what file to instantiate click on the Data binding label.
- To choose which archetype to instantiate, click on the openEHR-EHR-OBSERVATION.body_surface_area.v1 archetype and then click on the checkmark.
- To start to instantiate Body Surface Area as output data, drag the Element instantiation button to the newly instantiated archetype.
- Click on the Element label in the new row in the archetype.
- It will open a dialog box. In the element selection dialog box, select the required element (Body Surface Area) and then click on the checkmark.
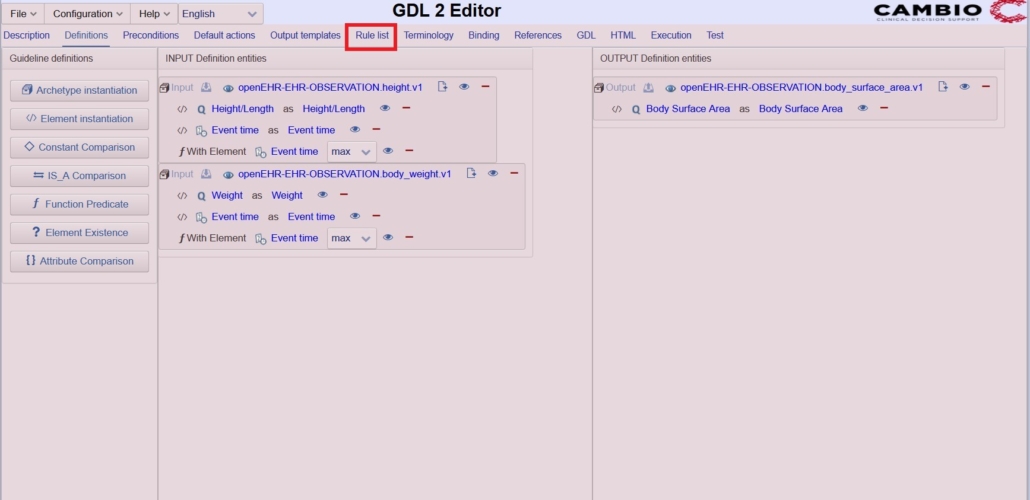
- After finishing all the steps you should see the following screen.

6. Create a rule named BSA calculation which sets the magnitude attribute of Body Surface Area according to the Dubois BSA formula.
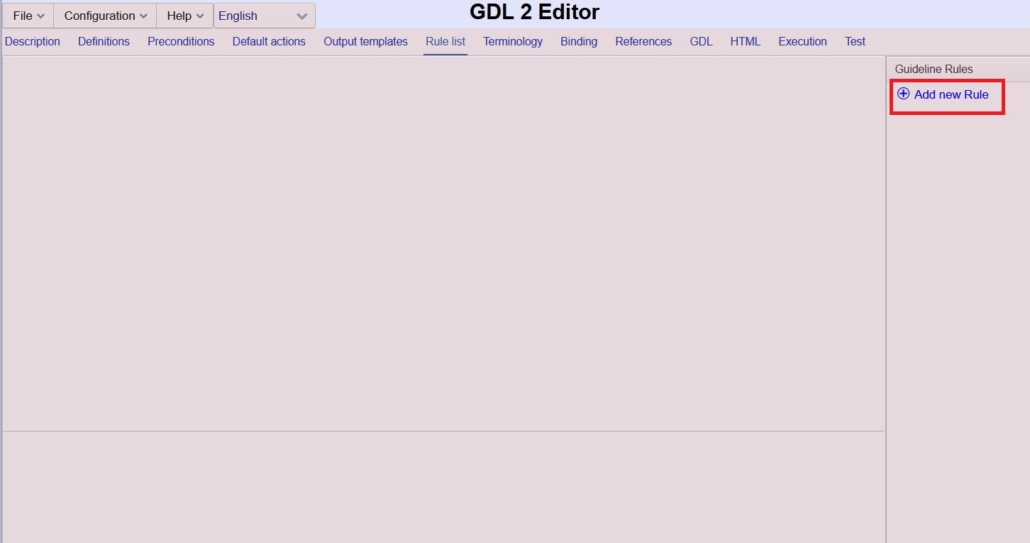
- Click on the Rule list label to open the tab.
- To add a new rule click on the Add new rule label.
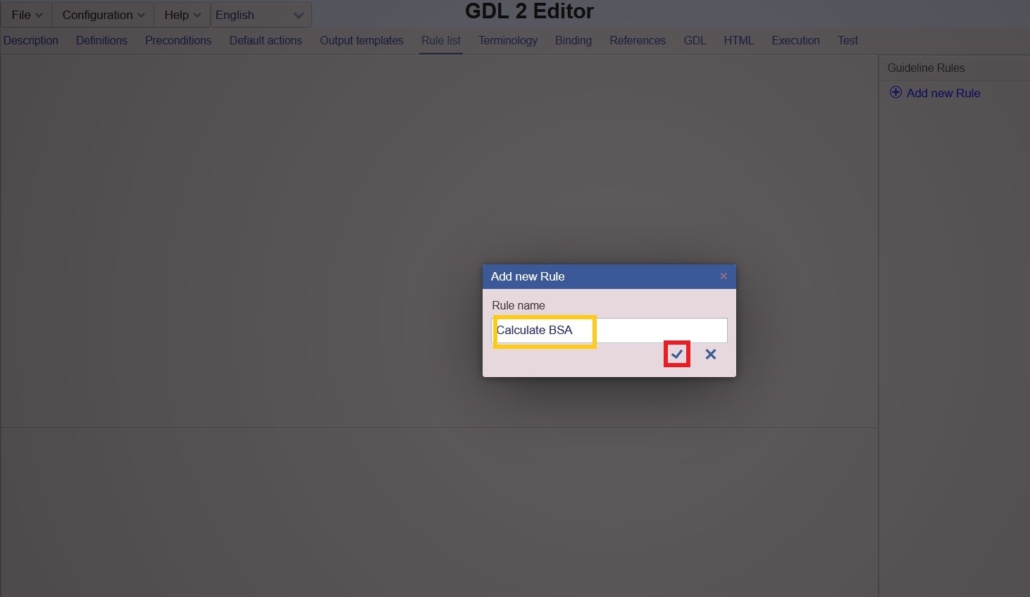
- To name the new rule type the name of the rule inside the Name field then clicks the mark. Here we name the rule Calculate BSA.
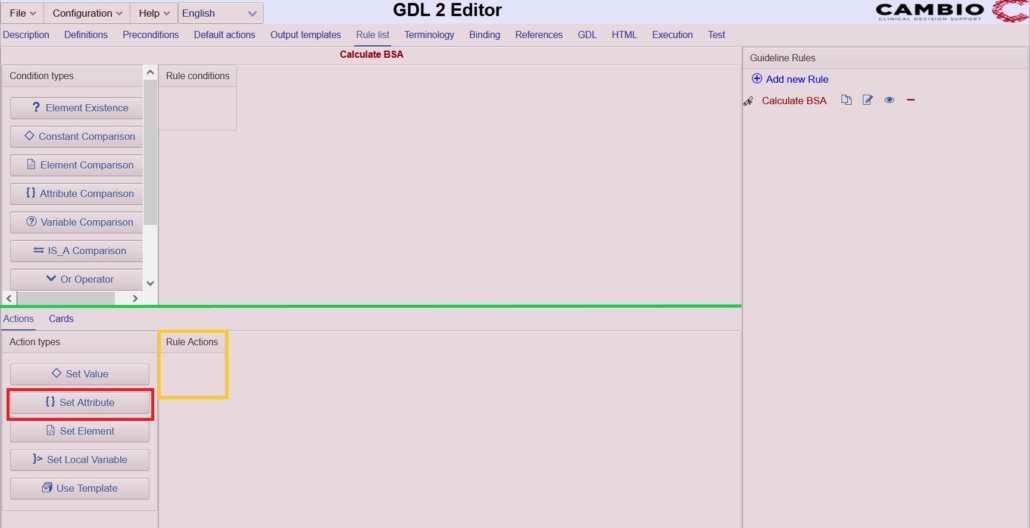
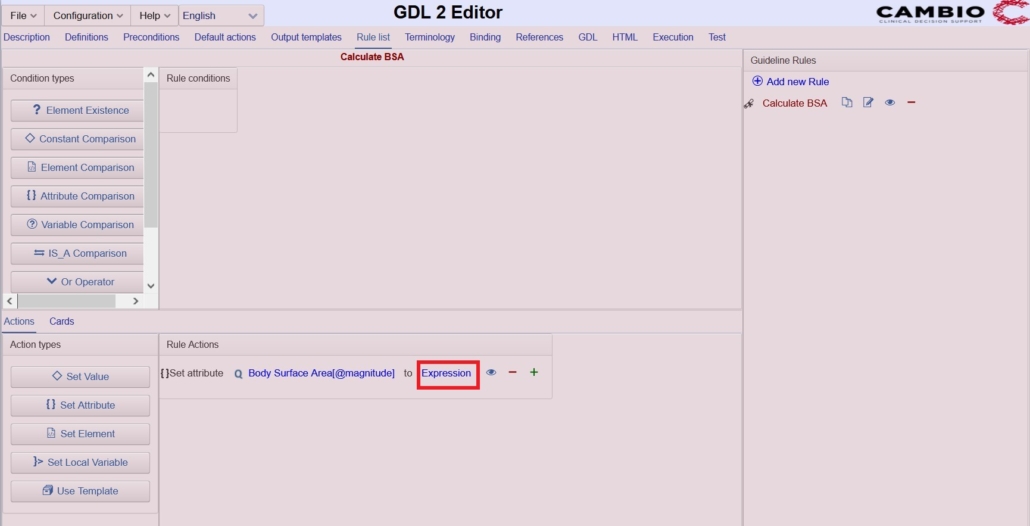
- To start to create the calculation rule, drag the Set Attribute button to the Rule actions field. You can adjust the layout of the screen, by dragging the line between the frames.
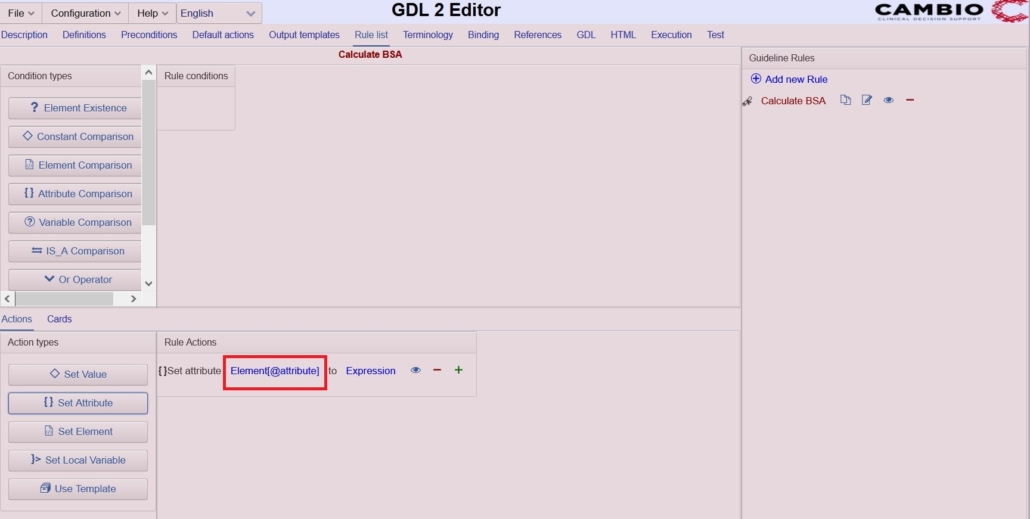
- After dragging the Set Attribute button to the Rule actions field continue the rule creation by clicking on the Element@attribute label in the new empty rule.
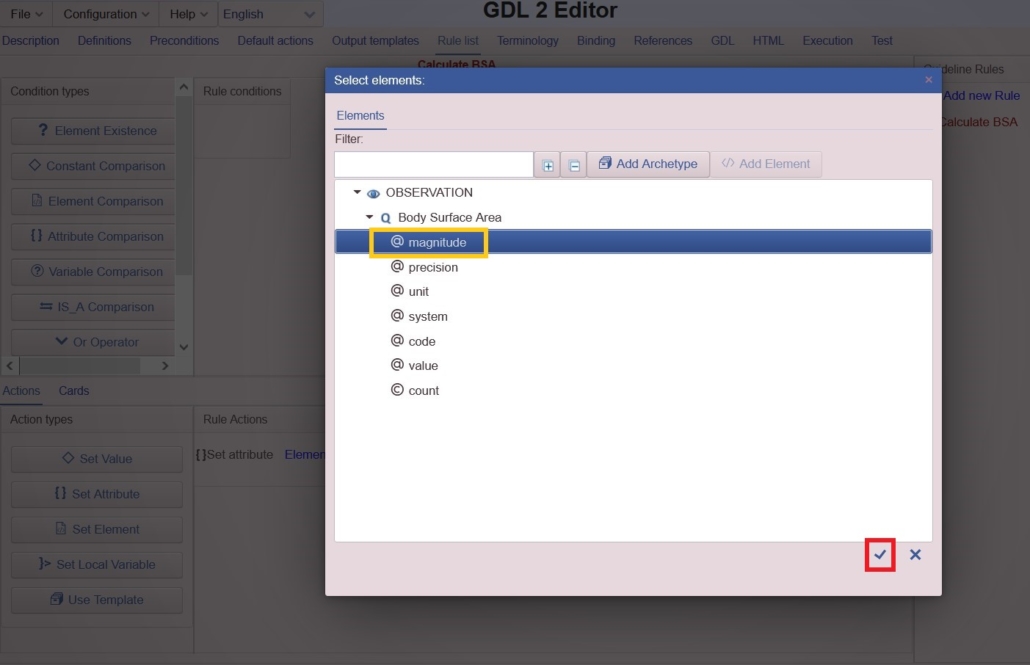
- Select which output data you want to set with your calculator. Select the @magnitude attribute below the Body Surface Area archetype and confirm your selection by clicking the checkmark sign.
- The formula for Dubois Body Surface Area is:
BSA = Weight^0.425*Height^0.725*0.007184
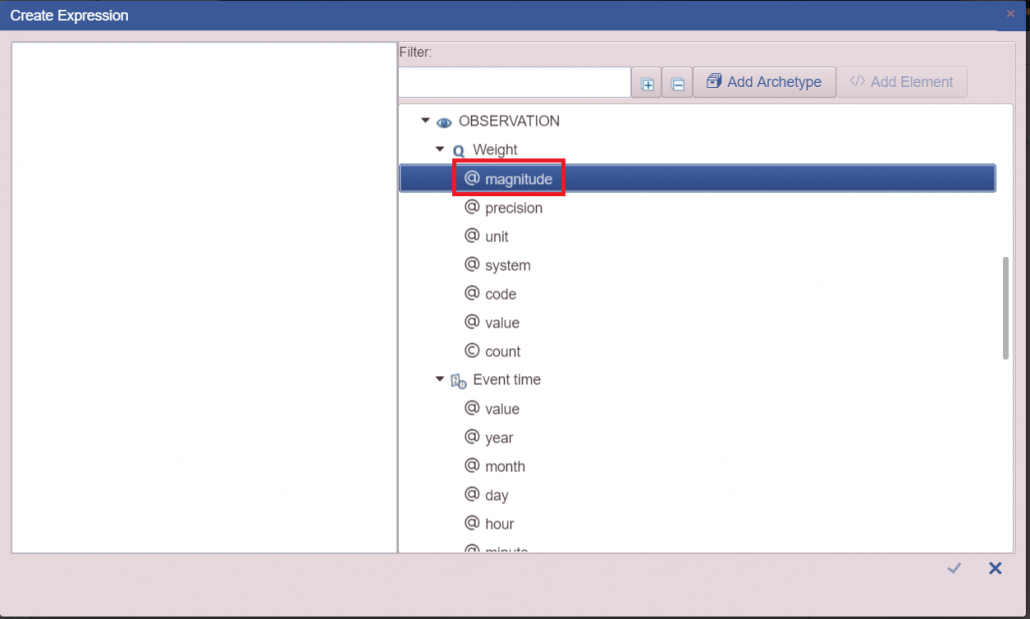
To enter the mathematical formula the Editor should calculate click on the Expression label. - To use input data in the formula, select it from the list on the right side of the dialog box. First, select the @magnitude attribute of Weight.
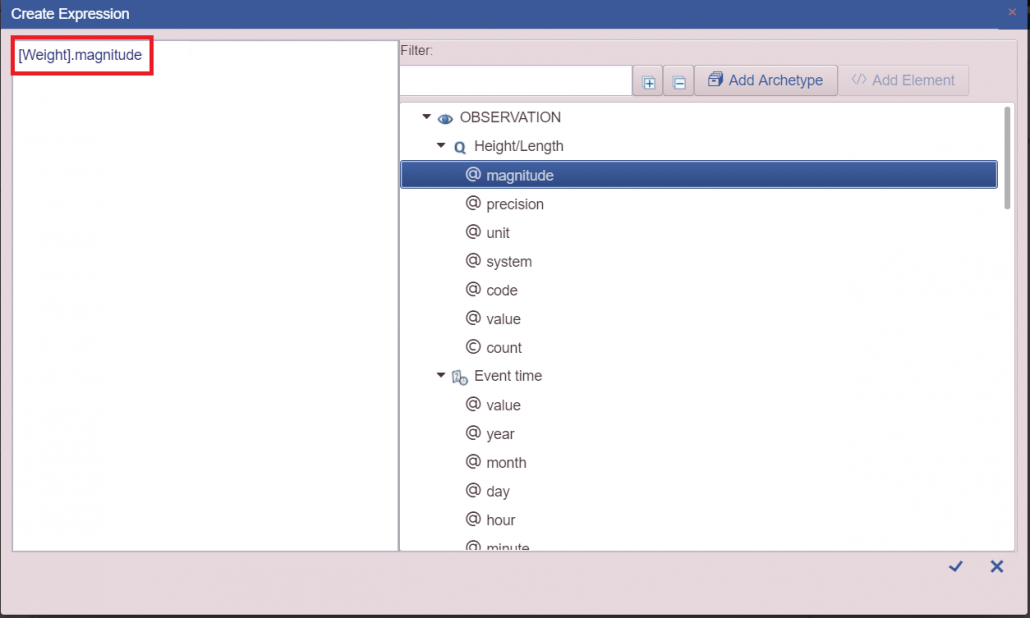
- After double-clicking an element on the right side of the panel, it will appear inside the expression editor.
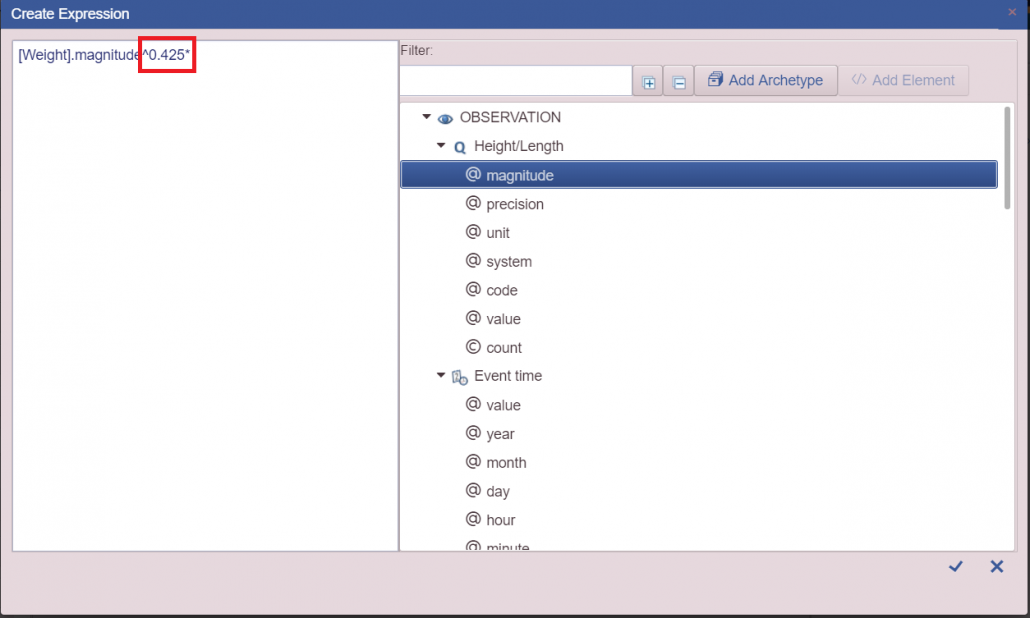
- After you have Weight in the expression editor start to complete the expression by writing a ^ symbol (exponent), the number 0.425, and a * symbol (multiplication).
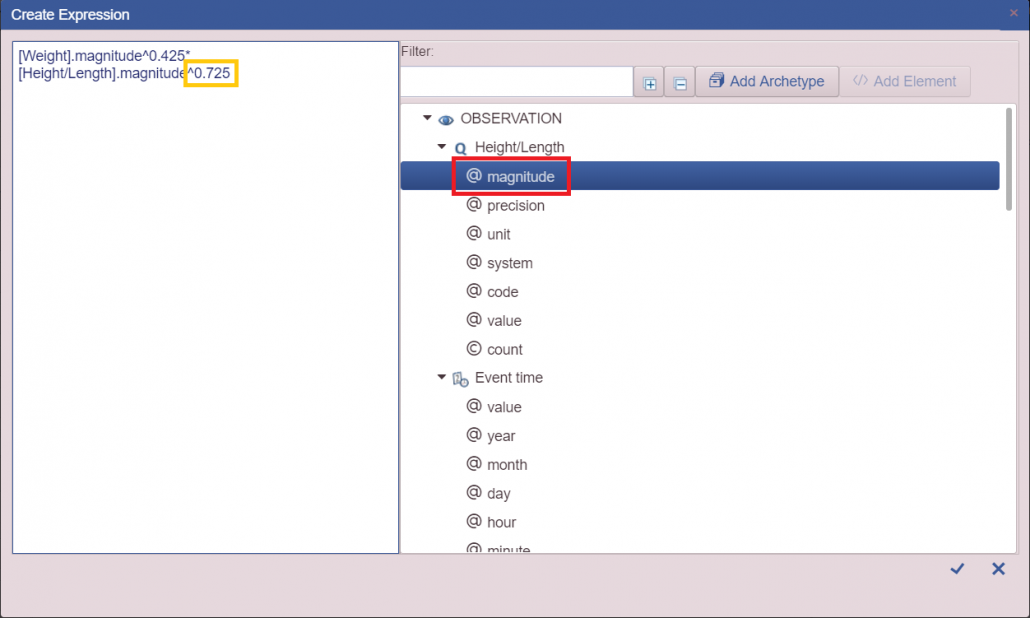
- Insert the Height/Length magnitude after the multiplication symbol by searching for the @magnitude attribute below Height/Length and double-clicking on it. Follow up by writing a ^ symbol and the number 0.725.
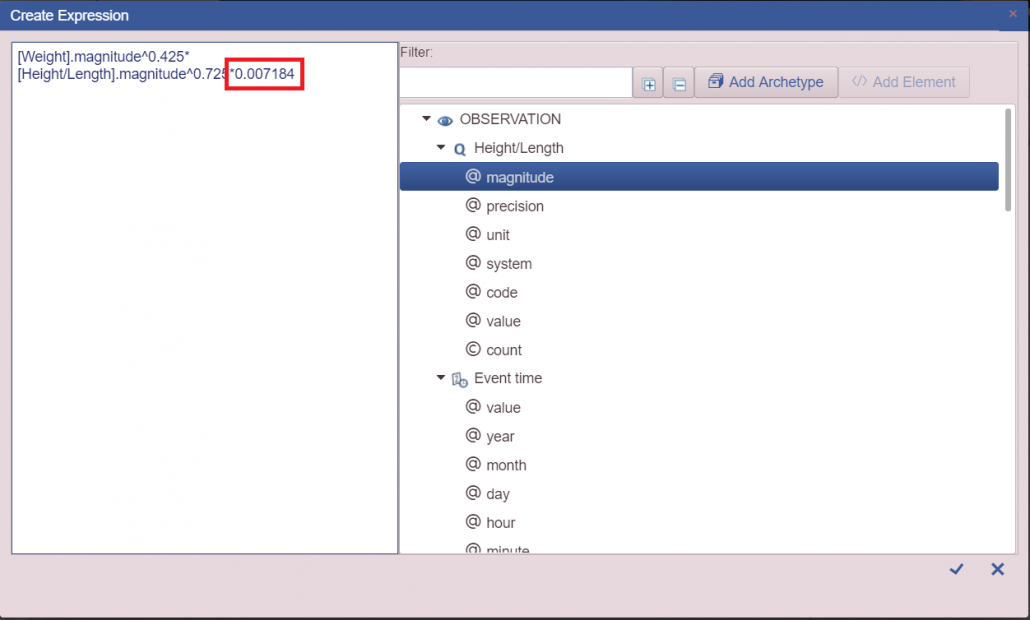
- To complete the expression, write a * symbol (multiplication) and the number 0.007184. After doing the adjustments you should have the same expression in the expression editor as in the screenshot. To save this expression click on the checkmark.
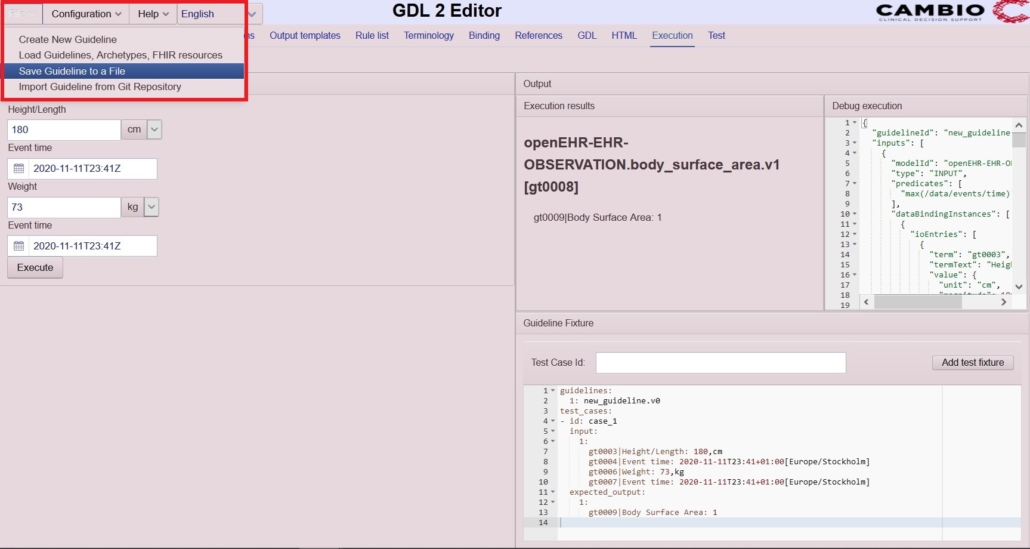
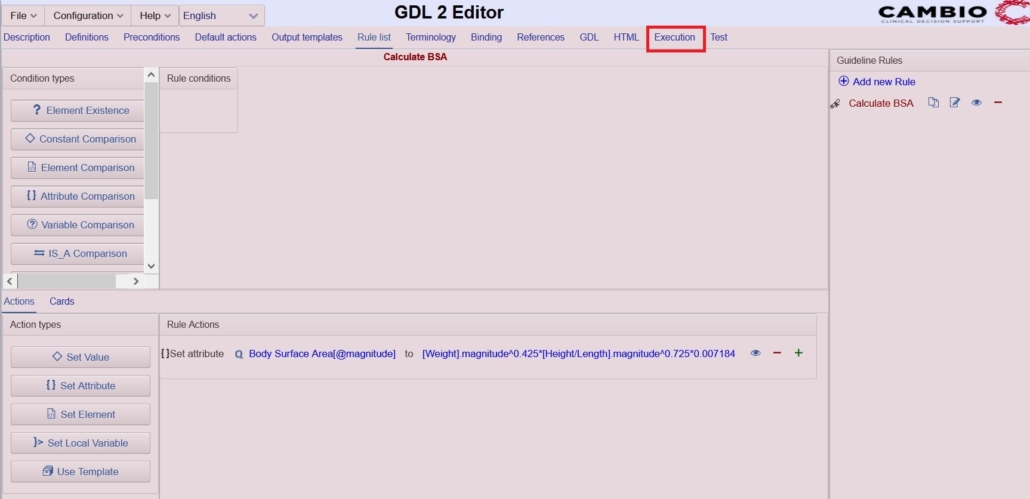
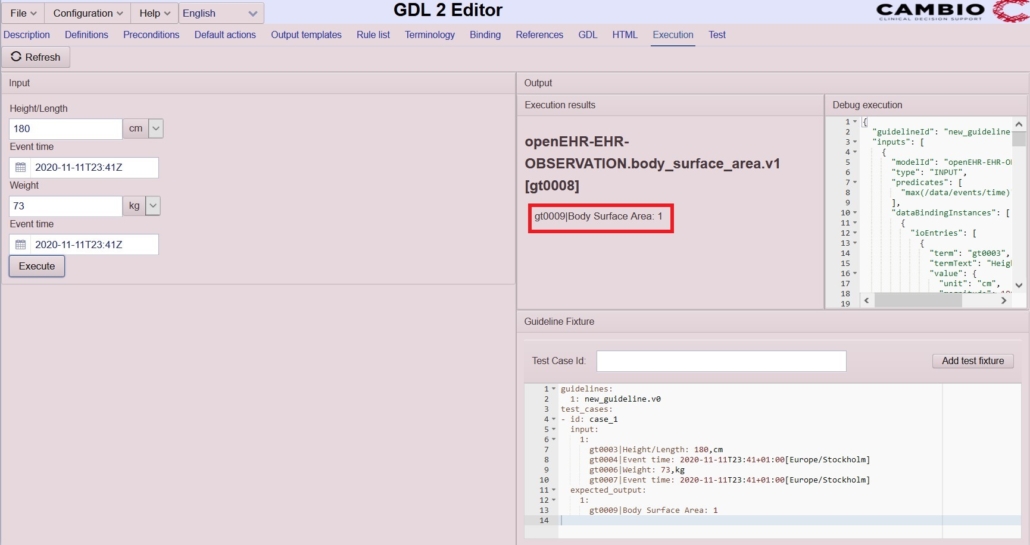
7. Use the Execute tab to check your guideline.
- To test whether the formula works correctly click on the Execution label in the second row of the Editor.
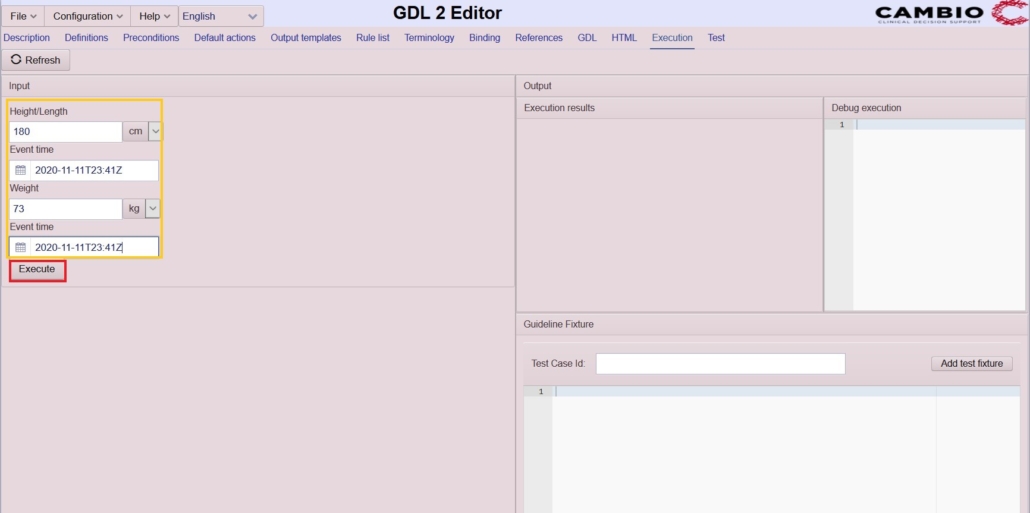
- In the execution tab, click on the Refresh button to see the guideline you have made.
- Enter meaningful data inside the Execution tab, choosing arbitrary times for Event time (using the calendar icon next to the respective input fields). A possible fill can be seen in the screenshot. To continue click on the Execute button.
- After successfully executing your guideline, you will see the result inside the execution results field. The body surface area (without decimals) is shown within this field.

8. Save your guideline as BSA.v0 .
- To save your guideline click on the File > Save Guideline to a File menu item.
- A dialog box will ask you to name your guideline. Write a name to the File Name field, we recommend using BSA.v0. To confirm your choice click on the checkmark.
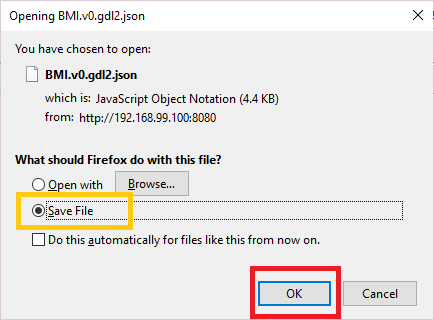
- Depending on your browser and your browser configuration your browser might show a dialog box asking to confirm that you want to save. If it does, make sure the Save file is selected, then click on the OK button. The screenshot shows an example where this happened while creating a BMI calculator. (Depending on your browser and settings you might have to do slightly different steps here.)
- Your OS will show a dialog box to choose the location of your file to be saved (in some browser settings, this might be omitted and your file will be saved in a default location). If you see the dialog box, make sure the file’s name is displayed correctly in the File Name field, then click on the Save button in your OS language. The screenshot shows an example where this happened while creating a BMI calculator.